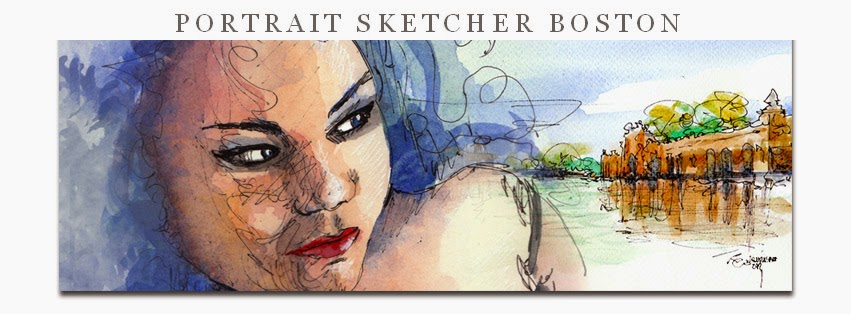
Dr. Ph. Martin's Radiant Concentrated Watercolor on Canson bristol smooth
Monday, June 24, 2013
Portrait of Frida and Hadassah
Labels:
Portrait,
Portraits,
sketch,
Sketches,
watercolor
Wednesday, June 5, 2013
Joseph's Portrait -The completed drawing in color pencil
Portrait of Joe
Color pencil
This color pencils are discontinued, I am lucky to have the full set of 96 colors of Design Spectracolors. The great thing about this colors is that they don't release dust, and the intensity (chroma) is more as the pressure on the paper is stronger; also the color builds on top of each other and the blending is perfect. I cherish this set so much!
The bad news is that I used the wrong paper: Arches hot press watercolor paper that acts like sandpaper. Took me a while to finish this as the texture eats the pigment so quickly, yet here it is!
I am practicing on an old skill and trying to bring it back. I haven't done color pencil portraits in more than 17 years. So I think it's time to see what happens today
Tuesday, June 4, 2013
Work in progress -Joe's Portrait
This paper is giving me a hard time. Hot press arches watercolour paper.
I'll stick to bristol smooth, but will finish this tomorrow with better light.


I'll stick to bristol smooth, but will finish this tomorrow with better light.
Henry Cavill Portrait-demo in Colour Pencil
Here is a demo I am working on for colour pencil portraits
First step is the proportions using a stick, length width and blocking masses
Step 2: setting features and likeness (This should be broken up a bit more, I know..)
Step 3 Detailing the features more
Step 4 -Using a pillow eraser to evenly tone down the pencil marks (H pencil)
Step 5 -Erasing plotting lines and extra lines
Step 6 - With a base skin tone in the whole face of the lightest light tone, start with detail on the eyes
Step 7 -Continuing the nose and lips with a base tone a bit more intense than the first skin tone layer
Step 8 -Always look at the work at a distance to catch any awkwardness in the expression. Here I frame the face with the hair and I detail the ear
Step 9 -Intensify skin tones and proceed with clothing and faded background. I use the background as a neutral tone to create contrast where needed for the face to "pop-out" of the paper
Step 10 -Continue working on the hair by breaking it down to sort of geometric shapes that you fill with tones of brown and highlights, do some loose strands here and there to give sense of hair texture
The completed work
I plan to open a youtube channel and do this demonstrations on video. I am working on it, I'll probably start with watercolor techniques for portraits and add other media like this one, charcoal and others :) stay tuned! ;)
Subscribe to:
Posts (Atom)


